For anyone starting to dive into the UNIX world, the cornerstone of any distribution is the Terminal and Shell providing access to the heart of the system – the Kernel. The terminal is the graphical user interface for the shell, it varies across various linux distributions and other Unix-based operating systems – Konsole for KDE, Gnome Terminal for Gnome, Terminal for MacOS, Xterm and many others.
They’ve advanced a lot over the years and allow for features such as multiple tabs, background transparency and plenty more. However, on the shell side, there is one that rules them all – BASH (Bourne Again SHell). Probably close second comes Ksh (KORN Shell). These two have improved over the years as well, but haven’t dramatically updated the user experience. After all, it’s just a command prompt, right?
This is where Oh-my-Zsh (ZShell) comes in. It’s an open-source shell, which adds quite a few features and opens the door to many more via plugins and themes. Here is a short list of some of the features Zsh offers over BASH:
- Double Tab after a
cdcommand to get an interactive file list you can select from - Edit a multi-line command
- Fishhook-like autosuggestions (available via plugins)
- Better and more descriptive Git integration
- A wide variety of themes
Here is a very interesting article on how the Zshell came to be from its creator – d’Oh My Zsh.
Quite a few colleagues have asked me to help them replicate the setup I have on my machine. So I decided to sit down and write a guide, for them and for my own future reference.
The first disclaimer I should make is that I’ve ran Zsh on Sun Solaris, IBM AIX and Linux. It is by far optimized for Linux. It works fine on Solaris and AIX, however it does run into occasional hiccups when Tab is pressed twice for the directory list suggestions and a few other minor issues here and there.
I’ll be doing the setup on a Macbook, where I have installed iTerm 2, I’d say this is the “must-have” terminal application for MacOS. You can download it here – iTerm 2. It supports native TMUX (Terminal Multiplexer) integration, which I’ll cover in a separate post. The guide below does assume you have superuser privileges.
Installing Zsh
As it’s an open source project, so as you’ve probably guessed, it’s on GitHub.
For all of the steps below we’ll need Git installed:
To install Git for MacOS
sudo brew install gitFor Linux
sudo apt-get install gitOpen iTerm2 and cd into the directory where you wish to clone and install the shell and run
sh -c "$(curl -fsSL https://raw.githubusercontent.com/robbyrussell/oh-my-zsh/master/tools/install.sh)"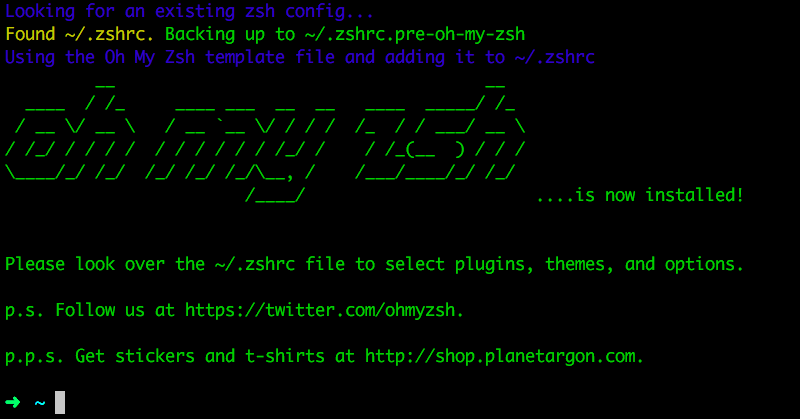
If you are having issues with the install command, the full list of commands per platform is available here – Installing-ZSH. Once cloned and installed, it will ask you to check for updates, press Y and continue, if all was successful, you would have your shell prompt changed to a green arrow.
Congrats, step 1 is done. The folder is called .oh-my-zsh, viewable by ls -a and you can cd into it and then the “themes” folder and see the preloaded themes.
Installing Themes
Now, we can install themes, to make the interface a bit more pleasant.
The shell comes comes with preinstalled themes and how they look visually, you can see here.
I use a theme called “Dracula” that doesn’t come pre-installed, however it’s on GitHub as well and can be downloaded from here.
To install it in the right place, run:
In the commands below replace $DRACULA_THEME and $ZSH with the actual directories to work properly
git clone https://github.com/dracula/zsh.git \mv $DRACULA_THEME/zsh/dracula.zsh-theme $ZSH/themes/dracula.zsh-themeAnd then remove the cloned folder.
Then open with your favorite editor ~/.zshrc, eg.
vim ~/.zshrcand change the the line ZSH_THEME=”robbyrussell” to ZSH_THEME=”dracula” or the theme name of your choice from one of the pre-loaded ones.
Installing Plugins
There are 2 ways to install plugins – git clone, move files around and edit the .zshrc settings file, the second one is with a plugin manager called Antigen. I usually always go with the plugin manager, but this is probably the only exception to the rule, simply because I install no more than 2-3 plugins at most, as I prefer my shell to be relatively clean and plugins can slow it down dramatically if you go overboard with the number. If you feel like experimenting, go for Antigen, the wiki of plugins is here.
My two plugins of choice are:
Zsh-autosuggestions
Zsh-syntax-highlighting
So the steps are, run each line separately:
git clone git://github.com/zsh-users/zsh-autosuggestions $ZSH_CUSTOM/plugins/zsh-autosuggestions \

git clone https://github.com/zsh-users/zsh-syntax-highlighting.git \
Open vim .zshrc and edit the plugins section to:
plugins=(git zsh-autosuggestions zsh-syntax-highlighting)The syntax-highlighting must be the last plugin and the file to end with the “source” command.
Restart the shell. The end result should look like the below screenshot, you can press the right arrow to complete the auto-suggestion.

Customizing the Prompt
This will vary per theme, as Zsh will override your previous prompt, coloring, icons and text is all in the theme file, so opening the the .zsh-theme file with vim will give you all the details to play around in there. It will look something like:
PROMPT='%{$fg[green]%}%~%{$fg_bold[blue]%}$(git_prompt_info)%{$reset_color%}'There are plenty of other resources online if you decide to customize it further. I usually skip on this part, as it’s one of the factors when I pick a shell theme in the first place, occasionally I’d make the prompt as short as possible, all extra information I need, I usually put in Powerline in TMUX (more on this in a separate post).
Setting Zsh as the start up default
chsh -s $(which zsh)and restart the terminal application.
Uninstalling Zsh
If you decide for one reason or another to remove Zsh and revert back to BASH or KSH or try out Prezto. Just run
uninstall_oh_my_zshand restart the terminal.


2 Comments
Catalin Ramascanu · 08/01/2019 at 8:58 am
I’ve did this setup today and everything worked like a charm. Thanks for the post, Ivo
Ivaylo · 10/01/2019 at 9:13 pm
Happy to hear!